Post by sadface on Aug 6, 2023 21:54:37 GMT 12
G'day Guys,
I am supposed to be working on my ESP P3A however an sidetrack came up beforehand.
Some time back I promised a friend I would send him an amp to play with.
Time for this promise to come due!
My friend doesn't need a lot of power but it does have to sound good. Enter the mighty LM1875.
This time round I am NOT wasting a year making a chassis as I happened to have something appropriate. A chassis from a faulty TOA PA amp I picked up off trademe for $1 some time back.
Layout drafting.  .
The chassis isn't perfect. The back panel has all sorts of annoying holes where I want to put things so I whipped up a quick replacement out of some steel sheet I salvaged from a dishwasher (that is a different story). A single fold and some hole drilling later voila!
I will be upcycling as much as possible on this build including: - Dishwasher sheet steel for the back panel and some brackets.
- Salvaged Nichicon 4700uF 63V caps for the power supply from some faulty amp or another. - Salvaged heatsink for the rectifiers, this one is extra cool due to the serendipity of the holes centres. - Salvaged power switch from a commercial coffee machine - good power switches are expensive and coffee machines use nice heavy duty ones. - Upcycled Mahogony from trademe for the front panel.
That's enough of a story for now but this project is well advanced already
|
Post by sadface on Aug 9, 2023 22:22:26 GMT 12
A wee little power supply for this build, but all the usual stuff to make it good.
- 100VA, 2x 15vac power transformer: perfectly acceptable for 2x20w. - 2x 4700uF caps. A little less than I am used to, but once again. This is just 2x 20w
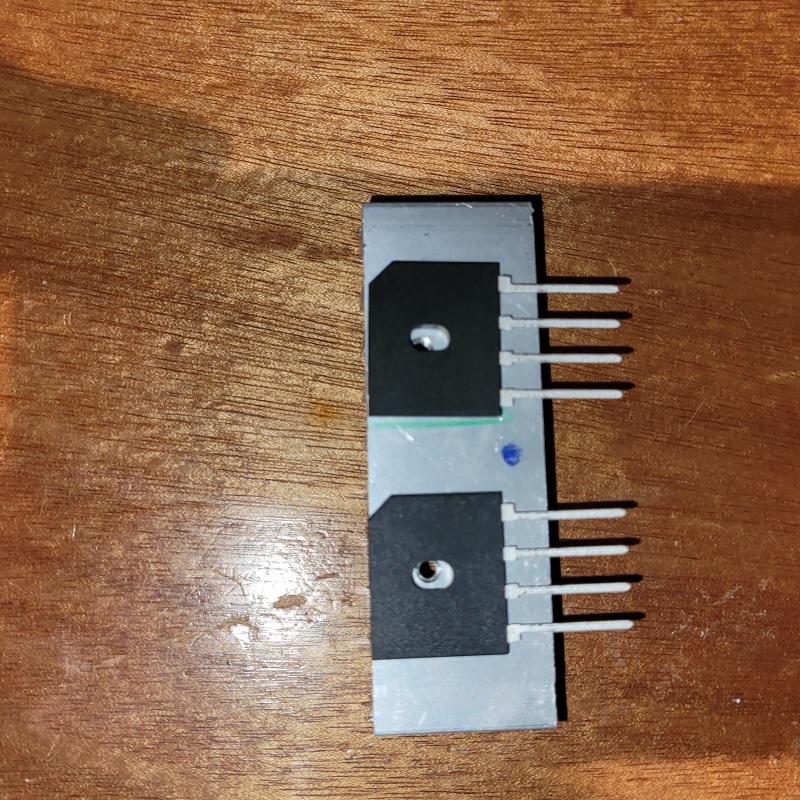
- Dual 25A 400V bridge rectifiers. - Dual element power transformer snubber - generic 100nF and 1R 100nF. I haven't bothered to measure the ringing on the transformer to work out the exact values required. Generic will be good enough here. - Generic snubbers for the outputs - 1R 100nF again. - 2.2k bleeder resistors. - Rail indicator leds.
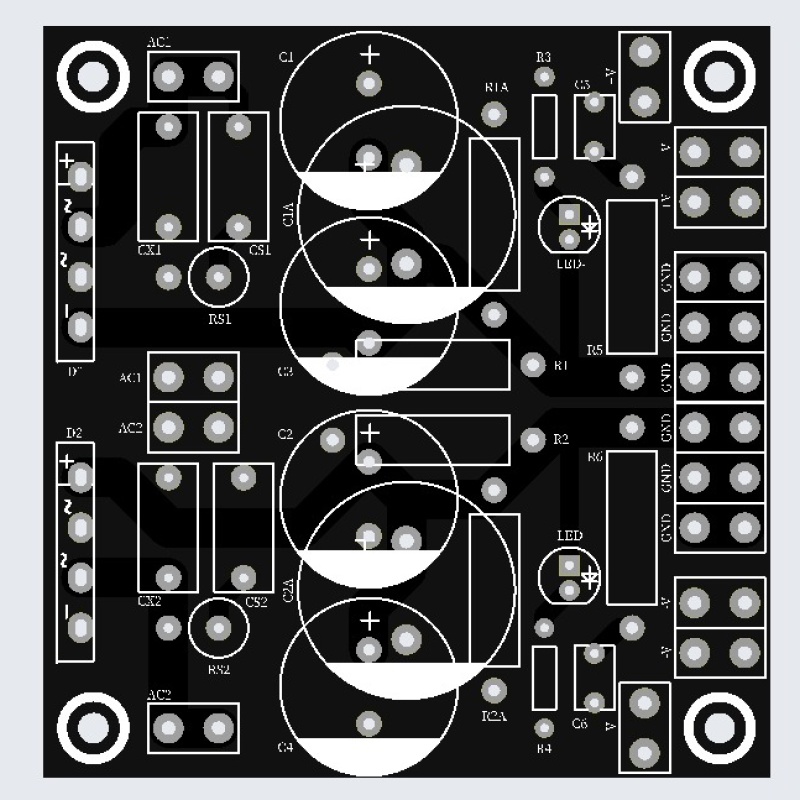
These power supply boards are a fresh design I whacked up for this project.These should be versatile boards: Either 2x 18mm caps or 1x 22mm caps.
Through pure chance, I had some salvaged heatsinks with the exact right hole spacing to use on the rectifiers which saved me some drilling and tapping.
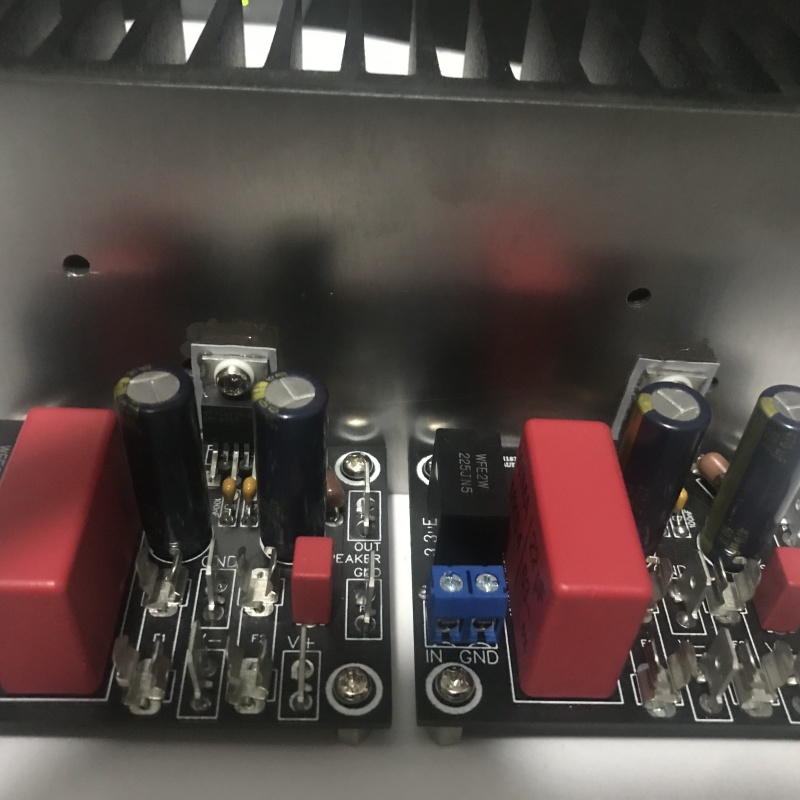
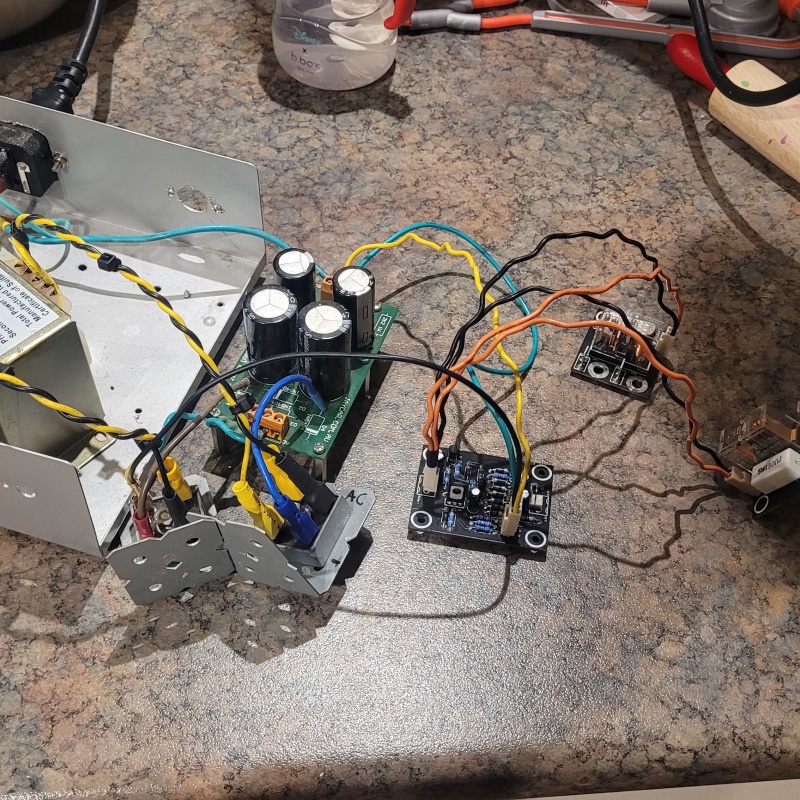
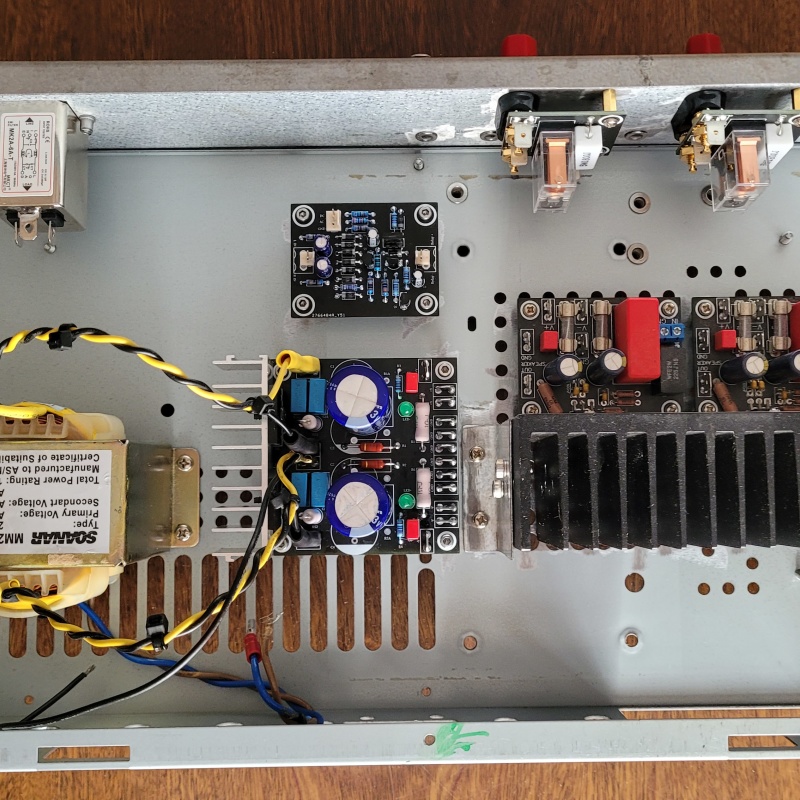
Here's the finished psu:
And a test fit with the speaker protection board:
20.8vdc rails unloaded
|
Post by sadface on Aug 11, 2023 22:24:20 GMT 12
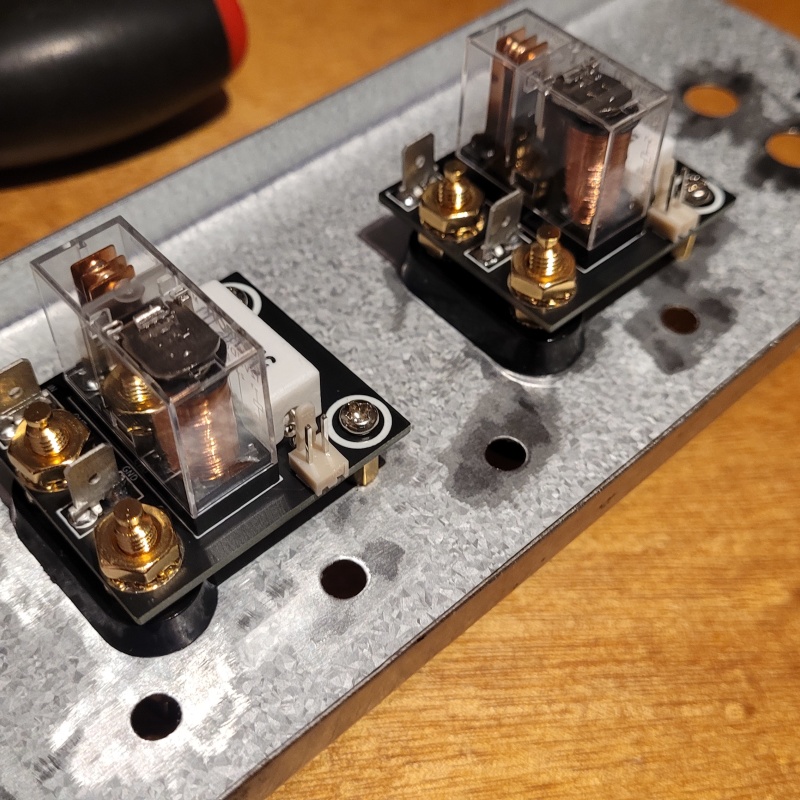
For this build I am using the standard Rod Elliot p33 style speaker protection.
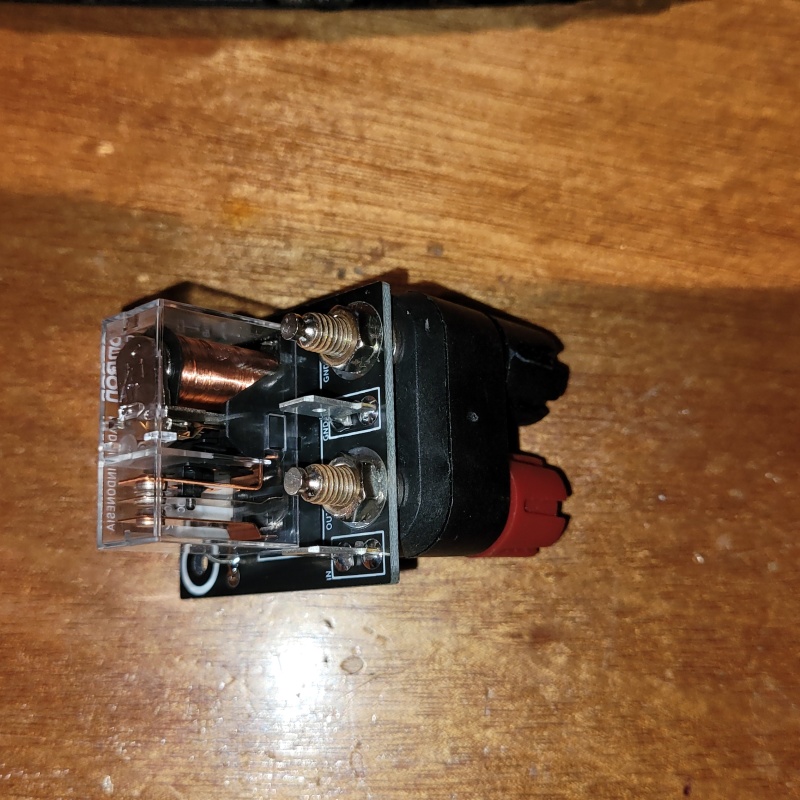
I've done something useful with the relays however which is to mount them directly to the speaker jacks to save space and wiring as this was a bit of an annoyance on my LM3886 build.
Standard Omron 2GR series relays.
Testing on the kitchen bench: no issues - relays triggering nicely and the protection trips nicely off the positive and negative rails. Here's the concept in mockup with a cheap jaycar set of binding posts:
The back panel I whacked up to replace the holey one that came with the chassis.
The proper binding posts installed on the back panel
And the back panel mounted on the chassis.
|
Post by sadface on Aug 19, 2023 21:44:00 GMT 12
G'day Guys,
Work carries on.
I had a couple of days off work this week so I was able to make some huge progress. The amp was completely assembled and tested on Thursday.
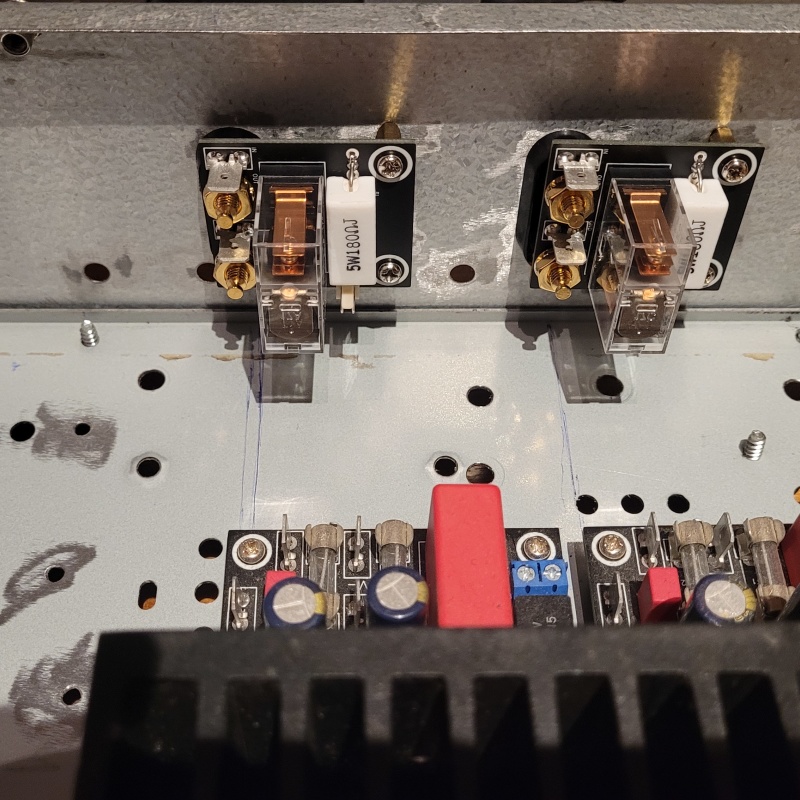
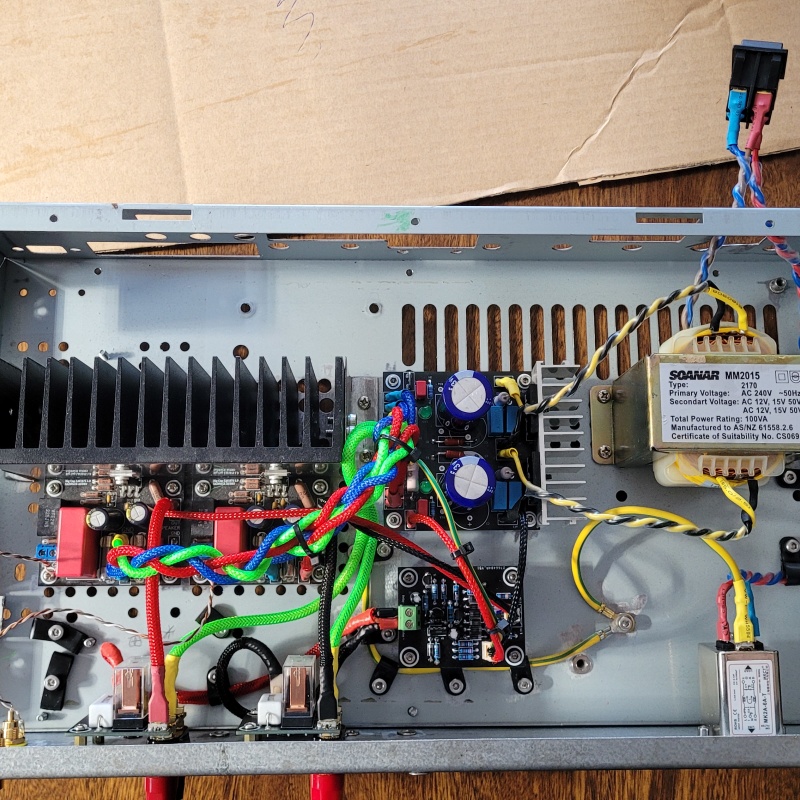
Here's the uncluttered layout:
And here's the completed amp:
Everything was disassembled for primer and paint. I've gone with a flat black this time.
I just threw the final coat of paint on this evening.
No dramas with the testing other than my chosen power switch didn't illuminate properly. Not a large issue though: I dug into my stash of recycled coffee machine parts and found another switch which does work properly.
The Mahogany front panel is looking gorgeous. I ended up with 6 coats of clear coat. I was going to stop at 4 however I was an hour early on checking my work and put a fingerprint in the not quite dry clear coat. A light sand and a 5th coat should have fixed the problem, except for the fruit fly.....
I'll give everything a couple of days to fully dry and then start final assembly on Monday.
|
Post by colinf on Aug 20, 2023 19:48:24 GMT 12
The humble 1875 lives! Nice build. Anything you can do to result in less wiring is good!
AMR-iFi R&D
|
Post by sadface on Aug 22, 2023 21:49:01 GMT 12
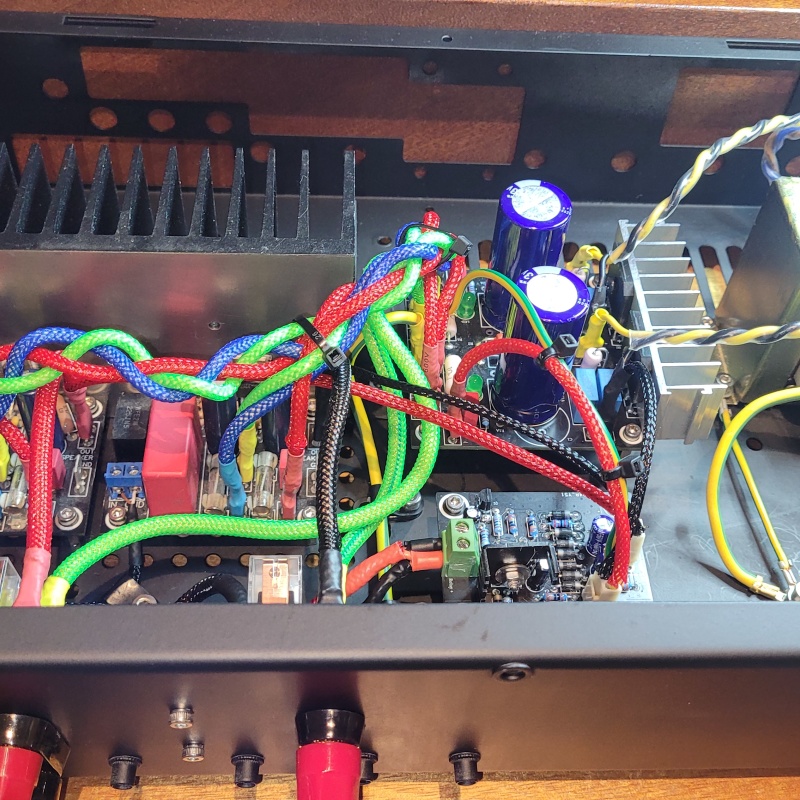
A wee teaser of the completed amp.
It made sweet test noises this evening. Lovely relay sounds and appropriate music.
The sound is exactly what one would expect from the LM1875: finesse, cleanliness and detail. Plenty of punch within the 20w window, this is definitely not a party amp although given the efficiency of my mates big JBLs, it probably could...
I'm waiting on some stainless M3 washers to arrive from Ali express.
In the mean time I need to generate some labels for the back panel.
Otherwise the build is basically done
I'll post some more photos in a couple of weeks when the last 1% is done.
|
Post by sadface on Nov 18, 2023 21:38:04 GMT 12
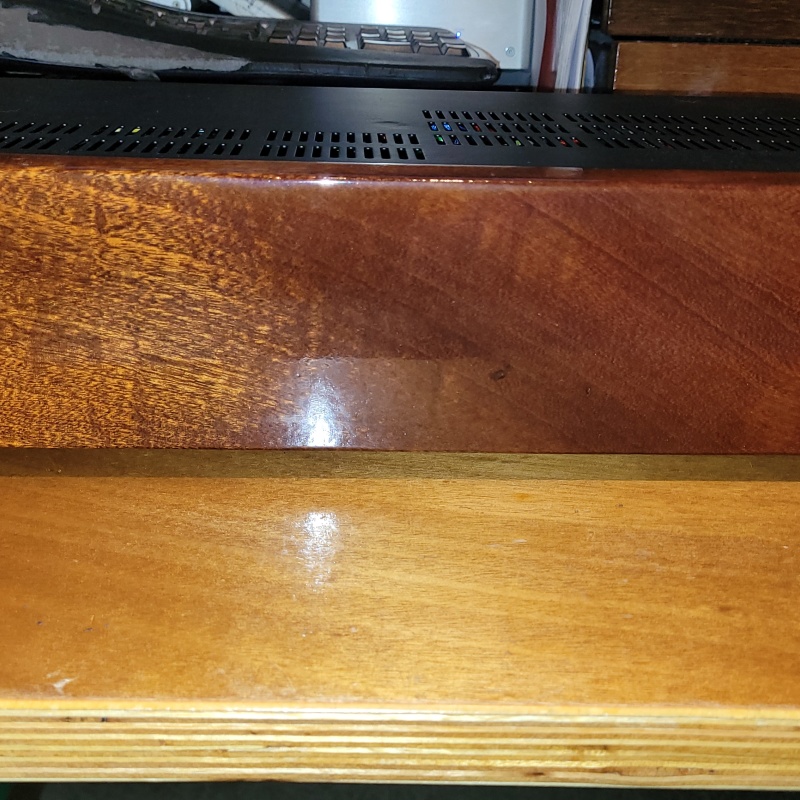
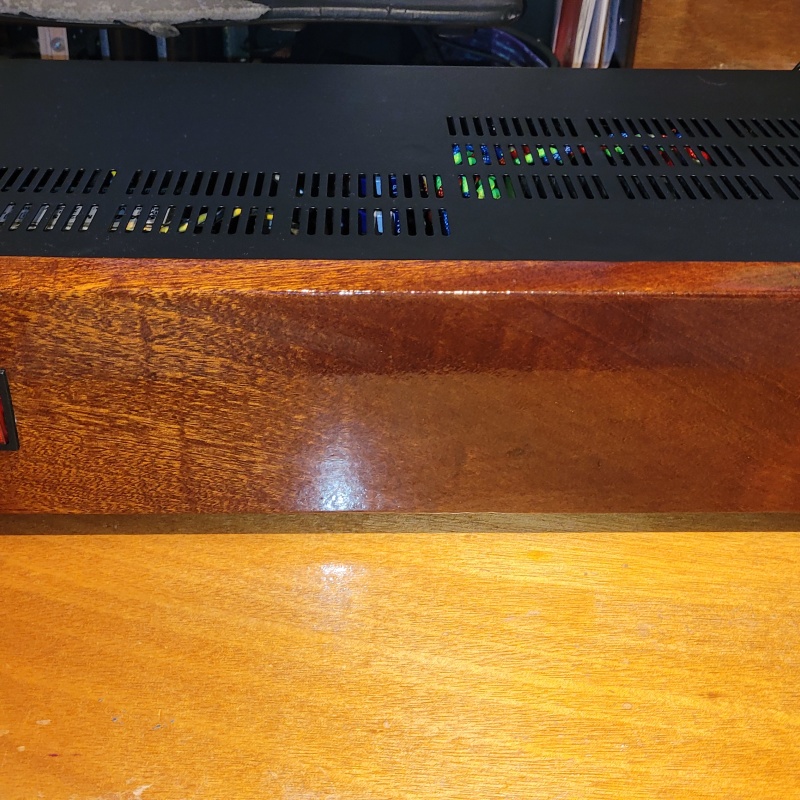
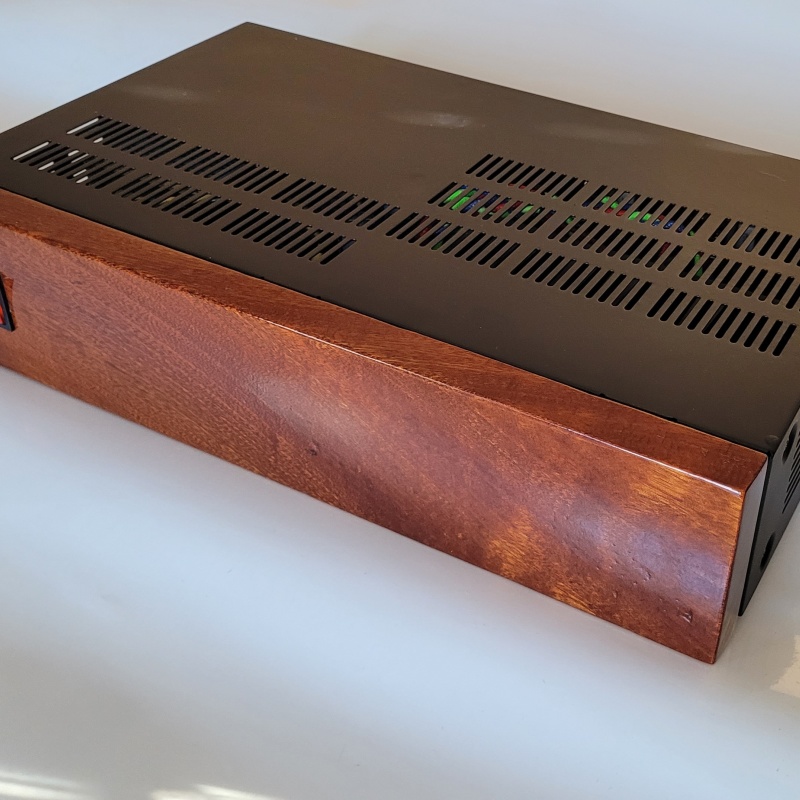
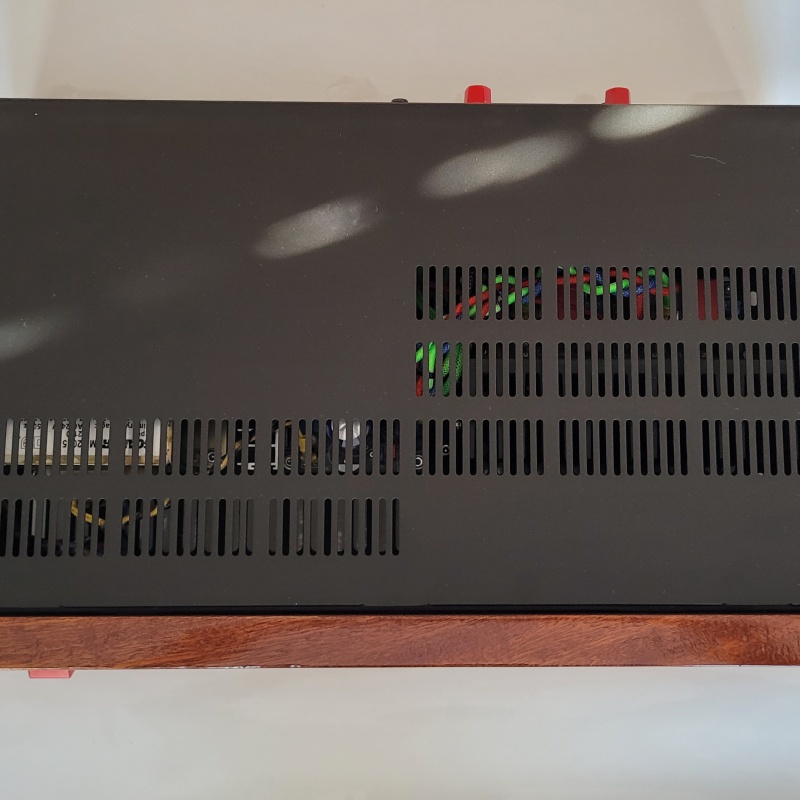
I never posted the completed build so here goes:
The owner has had this for a few months and is very happy.
I am stunned by how gorgeous the Mahogany came out. It worked really nicely with the satin black paint. My wife did a really nice job on the vinyl labeling for the back.
|
Post by michaelw on Nov 19, 2023 10:11:07 GMT 12
Very nicely finished. Want to reach out and touch that fabulous chunk of wood. The printed labels are many steps above the usual handwritten script. Well done. 
|
Post by sadface on Nov 21, 2023 7:27:33 GMT 12
Thanks!
|
Post by colinf on Dec 3, 2023 6:25:26 GMT 12
Superb. The wood finish looks lovely and deep.
AMR-iFi R&D
|